This article explains how to add an existing IMAP email account to Microsoft Outlook on an Android phone.
Before you start, have your email address, password and incoming and outgoing server settings ready. Ask your email provider or IT support if you do not have these details.
The server names and email addresses in the screenshots are examples. Use the settings supplied for your own account.
1. Install Microsoft Outlook
Open the Play Store on your phone.
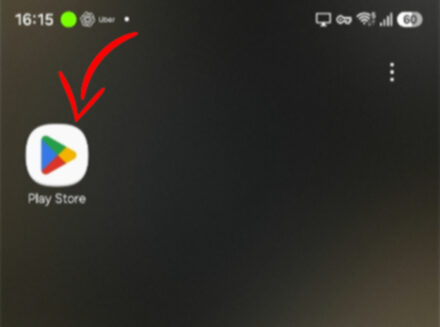
Search for Microsoft Outlook. Choose the app published by Microsoft Corporation and tap Install.
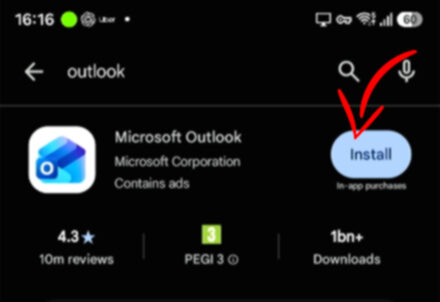
Wait for the installation to finish, then tap Open.
2. Add your email account
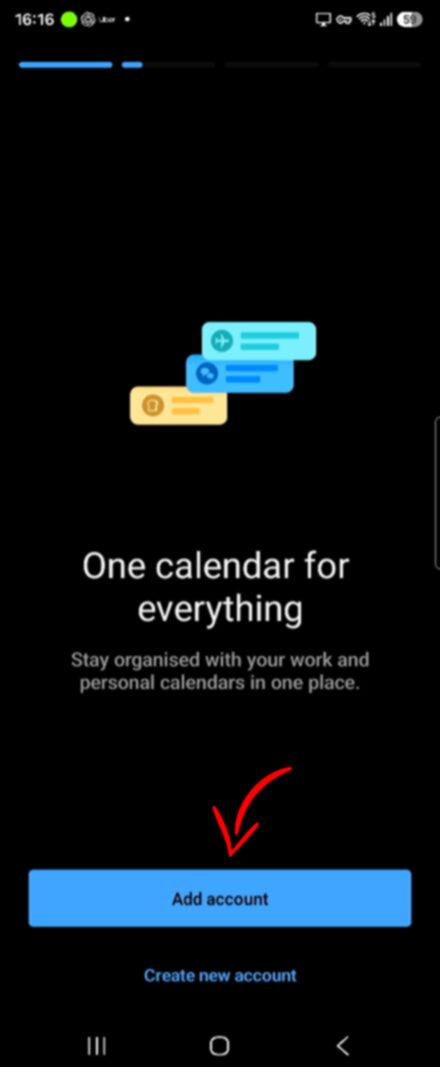
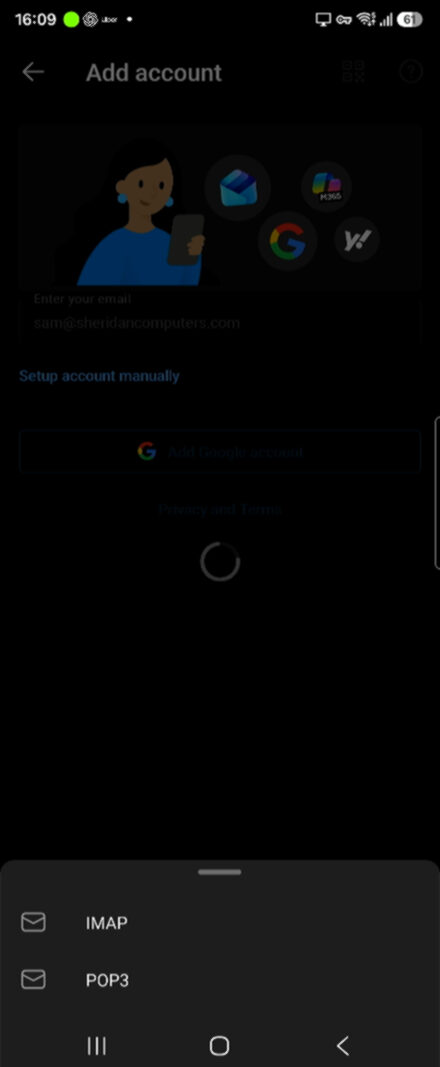
Open Outlook and tap Add Account.
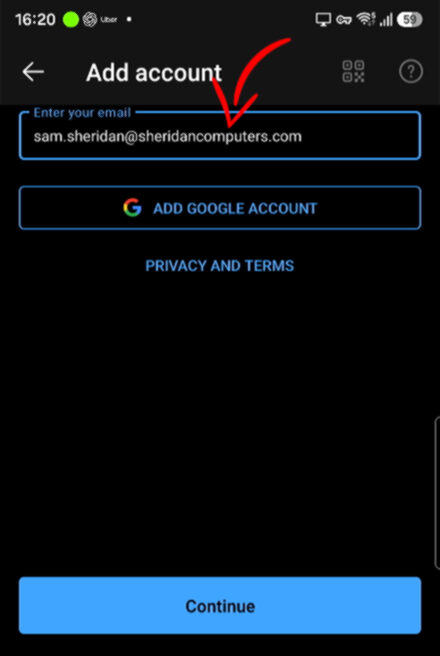
Enter your full email address and tap Continue.
If asked to choose an account type select IMAP. If Outlook selects a different account type, use the manual setup or change account provider option to choose IMAP.
3. Enter the incoming mail settings
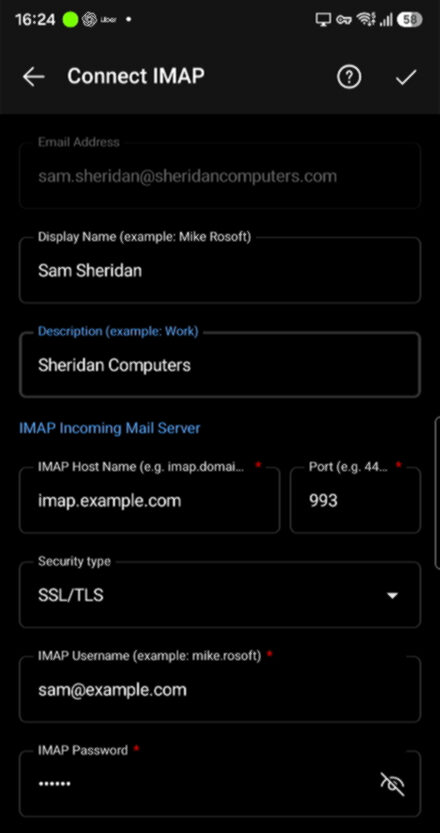
Enter your name under Display Name. This is the name people will see when you send an email. Under Description, enter a label for the account, such as Work.
Under IMAP Incoming Mail Server, enter:
- IMAP Host Name: Your incoming mail server address.
- Port: 993.
- Security type: SSL/TLS.
- IMAP Username: The username supplied by your provider, usually your full email address.
- IMAP Password: Your email account password.
4. Enter the outgoing mail settings
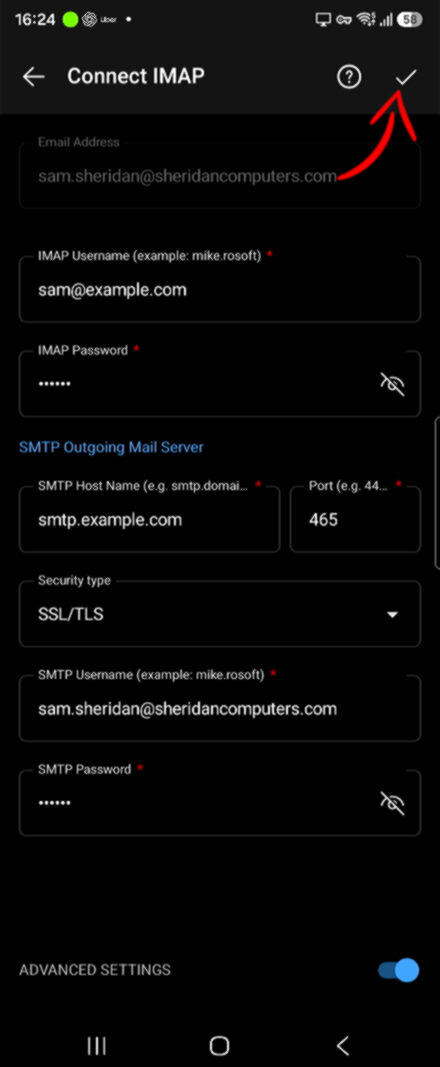
Scroll down to SMTP Outgoing Mail Server and enter:
- SMTP Host Name: Your outgoing mail server address.
- Port: 465.
- Security type: SSL/TLS.
- SMTP Username: Your outgoing mail username, usually your full email address.
- SMTP Password: Your outgoing mail password, usually the same as your email account password.
The port and security settings above match this guide. If your provider supplies different settings, use those instead.
5. Finish and Test
Tap the tick in the top right to save the account. Allow Outlook time to download your messages.
Send a test email and reply to it from another account to check that sending and receiving both work.
If setup fails, check the server names, usernames, passwords, ports and security settings. If you can receive messages but cannot send them, check the outgoing SMTP settings.